

I love how Microthemer enables me to leverage the productivity and flexibility of page builders like Elementor (and Beaver Builder) but still gives me as much control over the minute design needs that the page builder widgets do not always provide. Microthemer enables anyone to effectively edit WordPress Custom CSS with all kinds of helpers if you don’t happen to remember all of the possible change you can make.
But Microthemer is still a tool and using tools effectively means you need to understand how to be productive with those tools.
In this post I will take a look at three common issues I’ve run into and tips you can use to leverage the power of Microthemer to overcome those issues.
Issue: I want to experiment with massive CSS changes isolated from other users and site visitors
First thing I would say is make all visible changes to a development or stage environment then promote them to production/live. But even in dev or stage, you may want to make multiple changes to get a visual idea of how your idea may change the design, but want to be able to back them out quickly and easily or iterate on them over multiple sessions. There’s a solution for that in Microthemer called “Draft Mode”
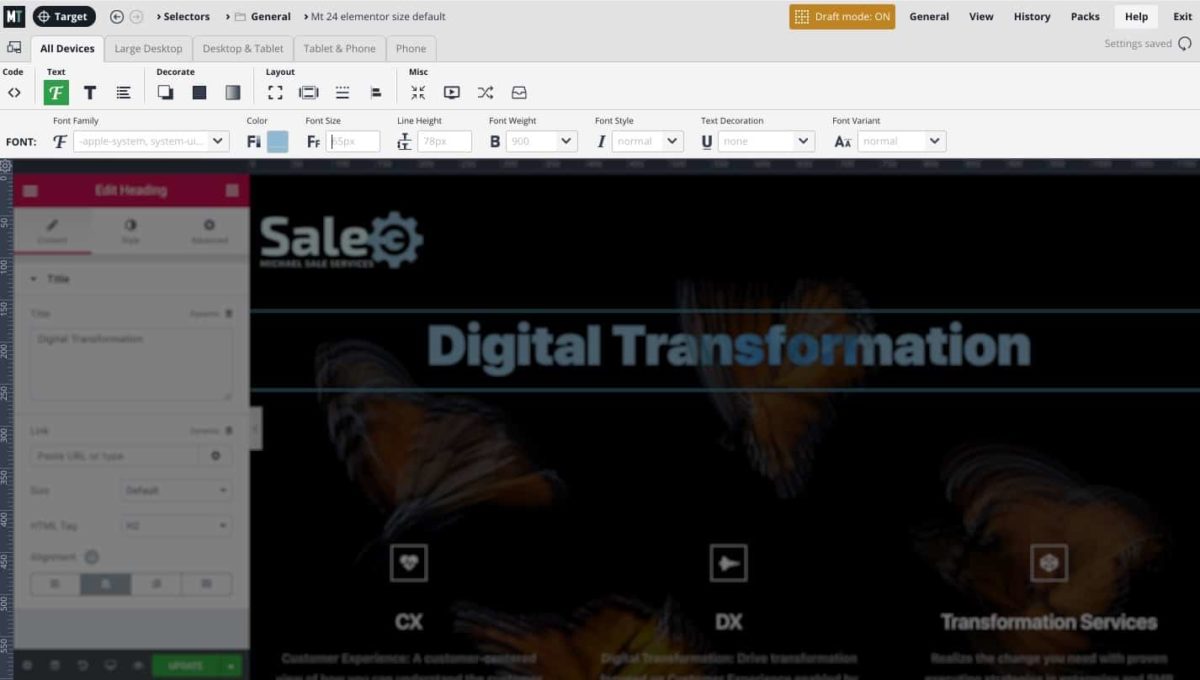
Tip: Draft Mode
When you are looking to implement a big change or have to work on a live site, Draft Mode is appropriate because it keeps your changes from being propagated to the anyone but you as a logged in user. Even if you logout and log back in, your changes are saved. “Draft Mode” is the first item on the Microthemer Toolbar Menu “General”. Just flip the switch and you’re ready to go!
I need to reiterate: Draft Mode stays on if you “Exit” Microthemer and your Draft Mode changes remain in place, though invisible to all other users until you either turn off draft mode, thereby implementing the changes, or back out your changes by going back to a revision. Be particularly cautious using Draft Mode if you have more than one use working on the same targeted selectors!
Wow, you really like this massive change you’ve made to your CSS! Toggle Draft Mode off while on the page. Now the changes are saved for everyone to see.
Backing Out your Draft
If you want to back out the changes made during your Draft session, you need to to to the “History” menu, select the “Restore Revision” option and scroll down until you find the point where you turned on Draft Mode.
Another important note. If you are in Draft Mode and you select the “Clear Styles” or “Reset Everything” menu items it will clear all the styles in the former case, and all the selectors and styles in the latter case, from before your draft editing session in addition to the time you’ve been in draft mode. This means that when you exit Draft Mode after selecting one of these options, you are effectively starting with a blank slate for all changes ever made in Microthemer. You’ll only make this mistake once!
Issue: Microthemer takes up too much Space on my Screen
Microthemer on my 13″ laptop screen is a beast!
When I am able to work on my 4k monitor space is not really a problem, but even then, being able to visualize and get a sense of what I’m building and fine tuning for design purposes means I like to have as little clutter as possible on the screen at any one time.
Microthemer makes it dirt simple to get out of your way, or show you full CSS and even allow you to add custom JavaScript! Let me show you how…
Minimize the Toolbar while Working in Elementor
Click the little Microthemer logo to minimize it. That was simple, wasn’t it!
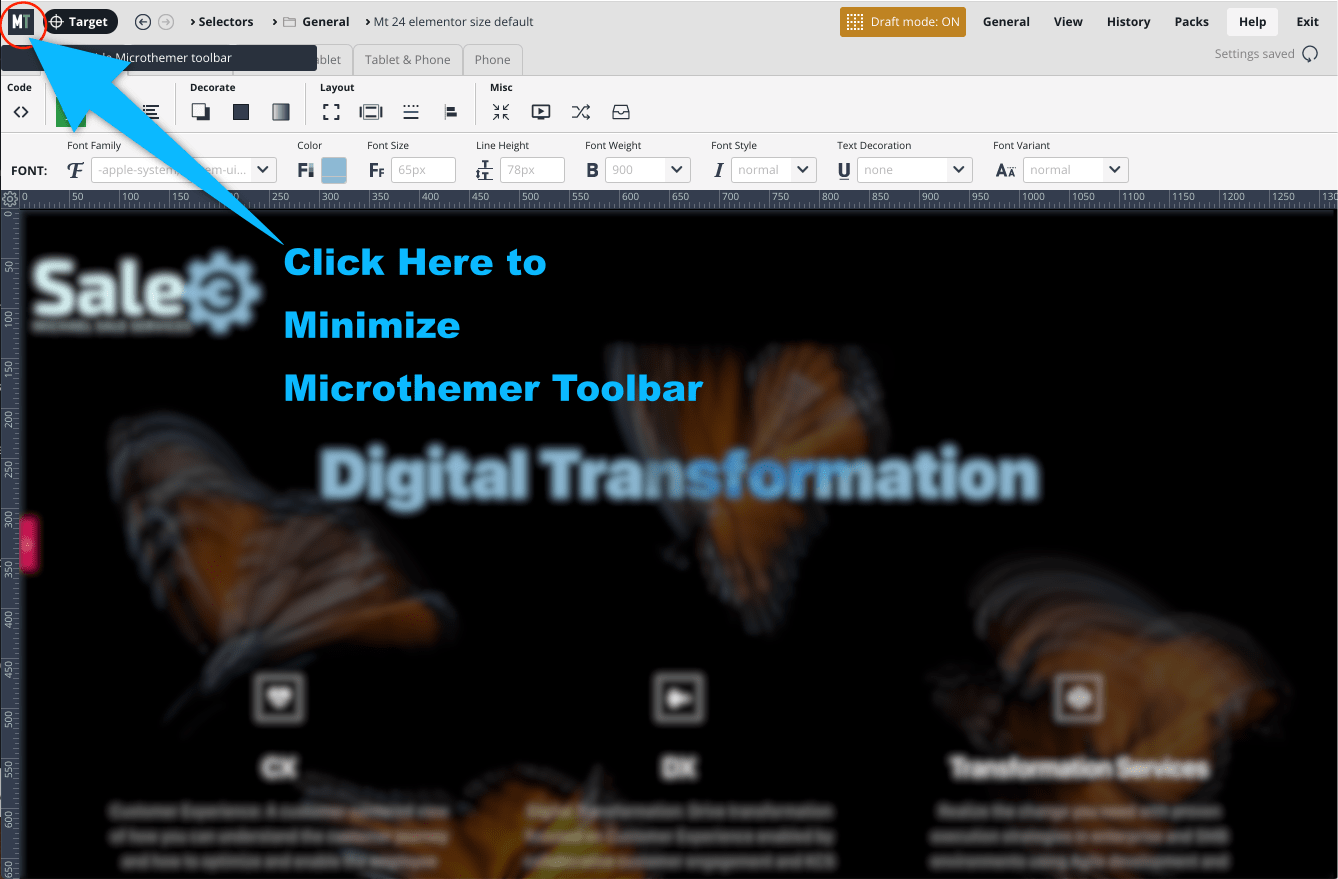
To Hide the toolbar, Click the little Microthemer Logo in the upper left 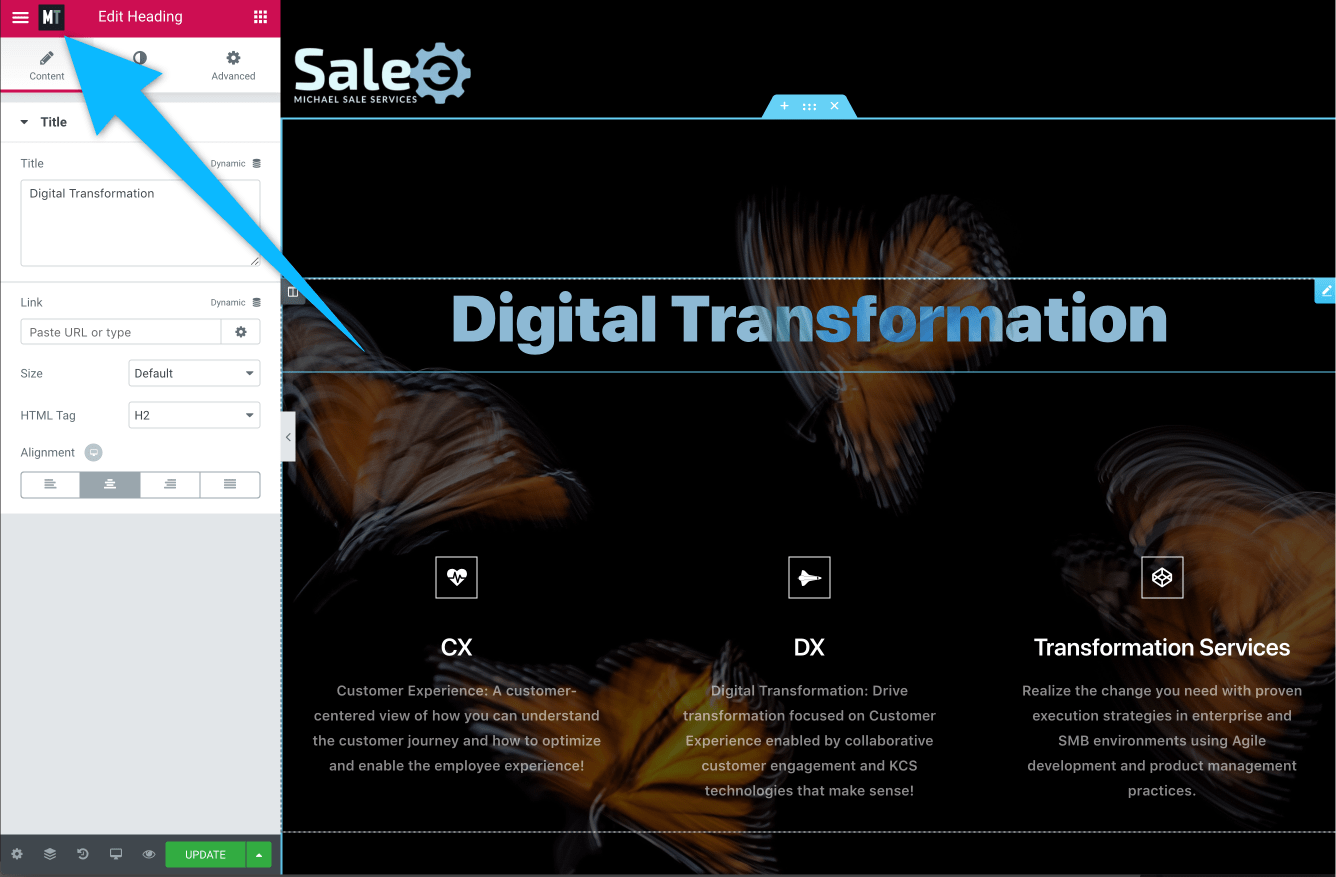
Get the toolbar back by clicking the very same logo!
Issue: Microthemer is (too?) Powerful!
When using Microthemer you just want your change to be for a specific page, but you are not sure if the Selector you want to use is now, or will be in the future, found on a different page! You want your Microthemer CSS to be specific to the page you are currently tuning. If you happen to use a selector on a higher level element, you will affect all elements across your site that use that same selector. Yikes!
Wait, this is actually a huge benefit! If you have a high level selector and want to tweak your theme beyond what your customizer allow, Microthemer can help you do exactly that. So it it not a bad thing per se. And yet you still want to know how to restrict your CSS to just this page. No problem!
Tip: Make your Microthemer edits Page-specific
Restrict Microthemer changes to the current page during the Targeting of the first element. If you’ve forgotten to restrict the target, you will need to “Retarget” the selector. The relevant icon is found just to the right of your current selector Label field annotated in the image below as number 1.

Once you click on the Settings gear icon, you select either page-id or page-name from the drop down menu. Both are found on the far right column of choices under the heading “Page-specific“.
You’ll know when you’ve made a change because that gear icon changes to a green background.
Important note: if you have multiple selectors on the same page, you’ll need to make sure you make the same Page-specific option to avoid adding CSS to all pages with the same selector available.
For more on how to Target the proper selector, watch the fantastic video from Microthemer below.
If you found this content helpful or worth you time and you would like to purchase Microthemer, please consider using this affiliate link to help support more tips and tricks like these!